The John Deere 111 Wiring Diagram Manual is a comprehensive guide essential for troubleshooting and repairing electrical systems. It provides detailed schematics and instructions for diagnosing issues, ensuring safety and proper maintenance.
1.1 Overview of the Manual and Its Importance
The John Deere 111 Wiring Diagram Manual is a detailed guide designed to assist users in understanding and repairing the electrical systems of their tractor. It provides clear instructions, diagrams, and troubleshooting tips, making it an indispensable resource for maintaining and diagnosing electrical issues. This manual is crucial for ensuring safety, proper functionality, and extending the lifespan of the equipment.
1.2 Key Features of the John Deere 111 Wiring Diagram
The John Deere 111 Wiring Diagram offers detailed schematics, component locations, and step-by-step instructions for electrical system repair. It includes color-coded wiring charts, diagnostic procedures, and safety guidelines, ensuring clarity and precision. This manual is tailored for both novice and experienced users, providing a comprehensive understanding of the tractor’s electrical framework.
Understanding the Wiring Diagram
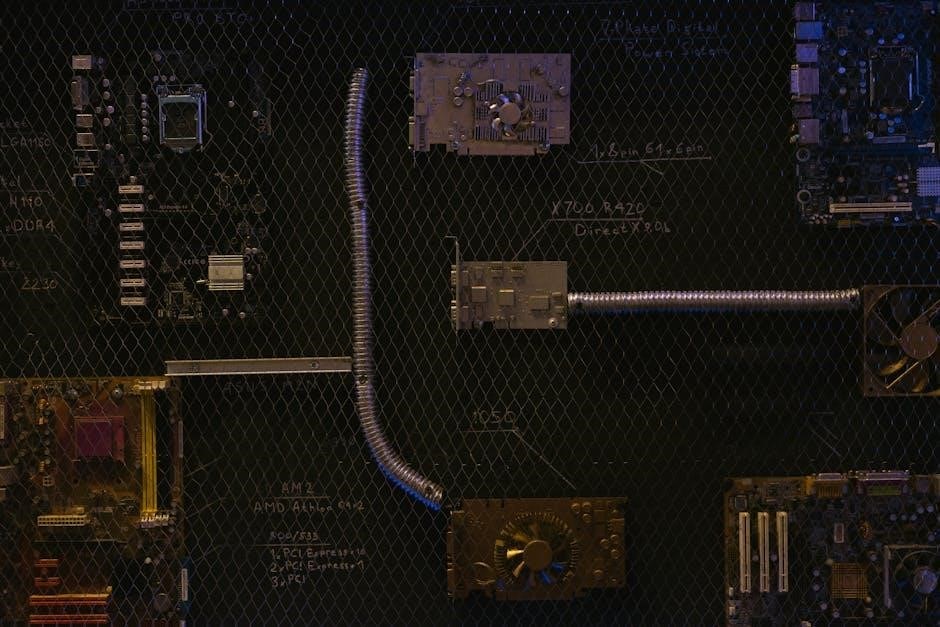
The wiring diagram is a visual guide detailing the electrical system’s components, connections, and flow. It uses symbols and color codes to represent wires, circuits, and devices, aiding in repairs and maintenance.
2.1 Basic Components of the Wiring System
The John Deere 111 wiring system includes essential components like the battery, solenoid, ignition switch, and circuit breakers. These elements work together to power the tractor’s electrical functions, ensuring proper operation of lights, ignition, and accessories. Understanding these components is crucial for effective troubleshooting and repairs, as outlined in the manual.
2.2 How to Read and Interpret the Diagram
To interpret the John Deere 111 wiring diagram, start by identifying symbols and color codes. Trace wires from the battery to key components like the solenoid and ignition switch. Follow the flow of power through circuits, noting connections and grounding points. Use the legend for symbol meanings and verify connections to diagnose or repair electrical issues effectively.
Key Electrical Components of the John Deere 111
The John Deere 111 features a main wiring harness, ignition switch, solenoid, and circuit breaker. These components work together to ensure proper electrical system function and safety.
3.1 Main Wiring Harness and Its Functions
The main wiring harness is the backbone of the John Deere 111’s electrical system, connecting all components seamlessly. It distributes power from the battery to essential parts like the ignition, solenoid, and accessories. Properly insulated and organized, it ensures reliable operation and minimizes the risk of electrical failures. Regular inspection is crucial to maintain its integrity and functionality.
3.2 Electrical System Overview
The John Deere 111’s electrical system is designed for efficiency and reliability, powering essential functions like lights, gauges, and the engine. It relies on a battery, solenoid, ignition switch, and fuses to regulate and distribute power. The system’s complexity requires precise wiring connections, as detailed in the wiring diagram, to ensure all components operate smoothly. Regular inspections and maintenance are crucial to prevent malfunctions and extend system longevity.
Troubleshooting Common Electrical Issues
Common electrical issues include intermittent power loss, dead circuits, and faulty connections. The wiring diagram helps identify issues like blown fuses or damaged wires, ensuring quick fixes.
4.1 Identifying Faults in the Wiring System
Identifying faults in the wiring system involves checking for open circuits, short circuits, or loose connections. Use the wiring diagram to trace connections and test continuity. Look for signs of physical damage, corrosion, or blown fuses. Consult the manual for specific troubleshooting steps and repair guidance tailored to the John Deere 111 model.
4.2 Common Problems and Solutions
Common issues include blown fuses, faulty solenoids, or damaged wiring harnesses. Check for loose connections and corrosion. Missing circuit breakers or incorrect wire routing can also cause malfunctions. Use the wiring diagram to locate components and test continuity. Replace damaged parts and ensure proper connections. Refer to the manual for step-by-step solutions and safety guidelines to resolve electrical system problems effectively.
Maintenance and Repair Tips
Regularly inspect wiring for damage and clean connections to prevent malfunctions. Use the wiring diagram to identify and replace faulty components. Ensure all repairs are done with proper tools and safety precautions to maintain system integrity and performance.
5.1 Regular Maintenance for Electrical Systems
Inspect the wiring harness regularly for signs of wear or damage. Clean battery terminals and connections to prevent corrosion. Check for loose wires and ensure all components are securely connected. Refer to the wiring diagram for guidance on tracing circuits and identifying potential issues. Replace any worn or damaged parts promptly to maintain optimal system performance and safety.
5.2 DIY Repair Techniques
Start by disconnecting the battery to ensure safety. Use the wiring diagram to identify and trace circuits. For repairs, utilize a multimeter to test connections and locate faults. Replace damaged wires with high-quality, gauge-matched replacements. Securely reconnect components, ensuring proper insulation. Consult the manual for specific instructions to avoid errors. After repairs, test the system thoroughly to confirm functionality. This approach saves time and ensures reliable performance.
Safety Precautions When Working with Wiring
Always disconnect the battery and wear protective gear. Avoid short circuits and ensure proper insulation to prevent electrical shocks or fires. Follow manual guidelines carefully.
6.1 Essential Safety Measures
Disconnect the battery before starting repairs to prevent accidental start-ups. Wear insulated gloves and safety glasses to protect against electrical shocks and debris. Ensure proper ventilation and avoid open flames. Use tools with insulated handles and keep a fire extinguisher nearby. Ground the tractor if necessary. Always refer to the manual for specific precautions.
6.2 Avoiding Common Mistakes
Never skip disconnecting the battery to prevent electrical shocks. Avoid using damaged tools, as they can cause short circuits. Do not overlook corrosion on connectors—clean them properly. Ensure all connections are secure to prevent overheating. Never bypass fuses or circuit breakers, as this can lead to system damage. Always follow the wiring diagram for accurate repairs and avoid guessing connections.

Tools and Equipment Needed
Essential tools include multimeters, circuit testers, wire strippers, crimpers, and connectors. Pliers, screwdrivers, and insulated gloves are also necessary. A wiring diagram is crucial for accurate repairs.
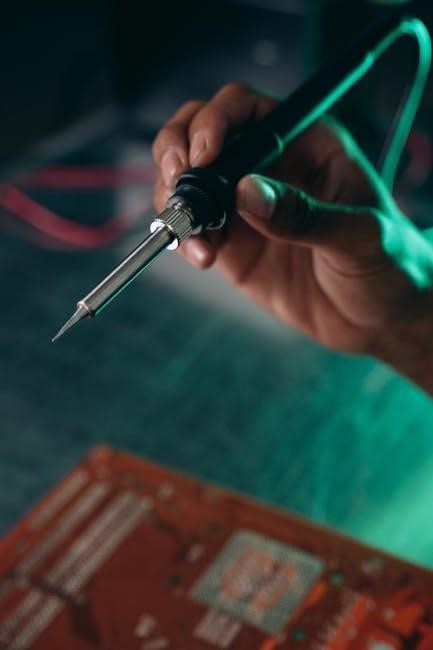
7.1 Essential Tools for Wiring Repairs
Key tools for wiring repairs include a multimeter, circuit tester, wire strippers, and crimpers. Pliers, screwdrivers, and insulated gloves are also necessary for safe handling. A wiring diagram is crucial for identifying connections. Additional tools like a soldering iron and heat gun may be needed for advanced repairs or customizations to ensure proper electrical system functionality and safety.
7.2 Recommended Diagnostic Equipment
A multimeter is essential for measuring voltage, current, and resistance. A circuit tester helps identify live wires and short circuits. Diagnostic scan tools, like those for John Deere systems, provide detailed fault codes. Thermal imaging cameras can detect overheating components. A wiring diagram is indispensable for tracing circuits accurately. These tools collectively ensure efficient and precise troubleshooting of electrical issues in the John Deere 111 tractor.

Frequently Asked Questions
Users often inquire about locating wiring diagrams, troubleshooting common electrical issues, and compatibility with specific tractor models. These FAQs address key concerns, ensuring clarity and effective problem-solving.
8.1 Common Queries About the Wiring Diagram
Common questions include locating the wiring diagram for specific tractor models, understanding complex electrical systems, and troubleshooting common issues like ignition problems or faulty connections. Users also ask about compatibility with their tractor’s year and model, ensuring accuracy in repairs. These queries highlight the need for clear, model-specific guidance to avoid confusion and ensure safety during repairs.
8.2 Solutions to Frequently Encountered Issues
Issues like faulty wiring harnesses, blown fuses, or incorrect connections are common. Solutions include consulting the wiring diagram for precise repairs, using diagnostic tools, and replacing damaged components. Ensuring all connections are secure and following safety protocols can prevent further damage. Regular maintenance and referencing official manuals also help resolve electrical system problems effectively.
Resources for Further Assistance
Access official John Deere manuals and guides through their website or authorized dealers. Online forums and communities, like Repair Forums, offer peer support and troubleshooting tips for wiring issues.
9.1 Official John Deere Manuals and Guides
Official John Deere manuals provide detailed wiring diagrams, repair procedures, and maintenance schedules. These resources are available on the John Deere website or through authorized dealers, ensuring accurate and reliable information for troubleshooting and repairs. They cover specific models like the John Deere 111, offering comprehensive technical support for optimal equipment performance and safety.
9.2 Online Communities and Forums
Online forums like Reddit and specialized tractor communities offer valuable insights and support for John Deere 111 wiring issues. Users share personal experiences, DIY solutions, and access to diagrams, fostering collaboration and problem-solving. These platforms are ideal for connecting with experts and enthusiasts, ensuring practical advice and real-world applications for electrical system repairs and customizations.
Advanced Repair and Customization
Advanced techniques involve upgrading electrical components and custom wiring solutions for enhanced functionality. Consult detailed diagrams and expert forums for guidance on complex modifications and system optimizations.
10.1 Upgrading Electrical Components
Upgrading electrical components enhances performance and reliability. Replace outdated wiring with modern, high-quality materials. Install advanced circuit breakers or relays for improved safety. Consider upgrading the ignition system for better starting efficiency. Refer to the wiring diagram for compatibility and proper installation procedures. Consult forums or expert resources for custom solutions tailored to your John Deere 111 tractor’s specifications and needs.
10.2 Custom Wiring Solutions
Custom wiring solutions allow for tailored enhancements to your John Deere 111 tractor. Add features like LED lighting, auxiliary power outlets, or advanced sensors. Use the wiring diagram to plan modifications, ensuring compatibility and safety. Consult expert resources or forums for guidance. Always test custom circuits with a multimeter before full integration to avoid electrical faults and ensure reliability in operation.
The John Deere 111 Wiring Diagram Manual is essential for effective troubleshooting and maintenance. It ensures safety and longevity by following proper guidelines. Use it to enhance performance and customize your tractor for future upgrades.
11.1 Final Tips for Effective Use of the Wiring Diagram
Always cross-reference components with the manual to ensure accuracy. Follow safety guidelines to prevent electrical hazards. Regularly update your knowledge of wiring systems for better troubleshooting. Use diagnostic tools to identify faults quickly; Consult professionals if unsure about complex repairs. Keep the manual handy for quick reference during maintenance. These practices will enhance your ability to use the wiring diagram effectively for optimal tractor performance and longevity.
11.2 Importance of Proper Electrical System Maintenance
Regular maintenance ensures the tractor’s electrical system operates safely and efficiently. Overlooking wiring issues can lead to costly repairs and potential safety hazards. By following the manual’s guidelines, you can prevent malfunctions, extend component lifespan, and maintain peak performance. Proper care also reduces downtime, ensuring your tractor remains reliable for years to come.